DHIS2
Adding a DHIS2 UI button to an app
Setup
If you already have set up a React app ready to follow the rest of this guide, you can skip this step. Otherwise follow the instructions below.
Installing @dhis2/cli
Open up your favorite terminal emulator and run (choose one)
Using Yarn
yarn global add @dhis2/cli
Using npm
npm install --global @dhis2/cli
Verifying installation
We can verify our installation by running d2 --version which in our
case prints 2.8.1. Your version might differ from ours, but as long
as you do not get an error here, you should be good to go.
Initializing a new app
The d2 CLI provides a simple way of initializing a new app. Let us
navigate (in the terminal emulator) to the where we want to create our
project. This command requires
yarn
to be installed on our machine.
d2 app scripts init <app-name>
<app-name> must be replaced with whatever you want to call your new
app.
We can now navigate into the newly created folder and start our development server.
yarn start
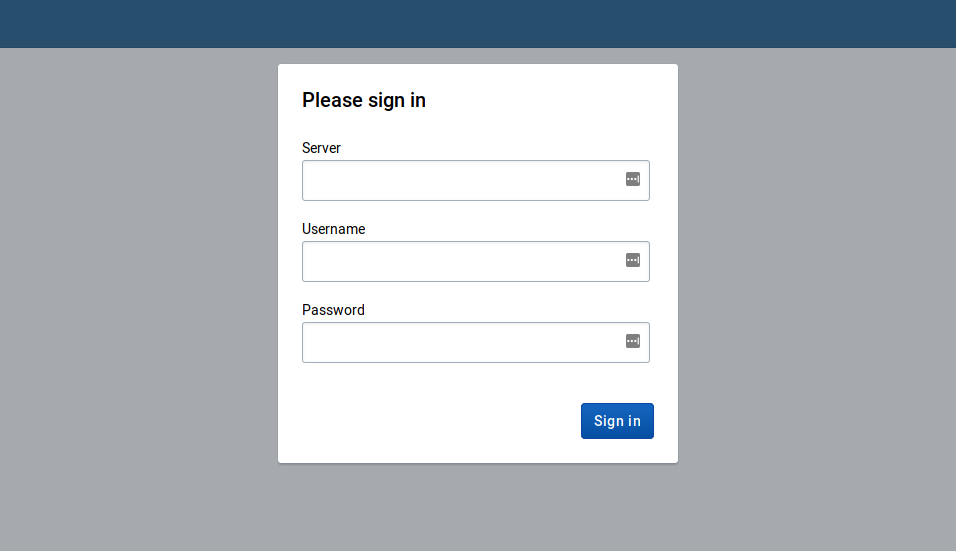
A web-browser window should have popped up greeting you with a login dialog (as shown below).
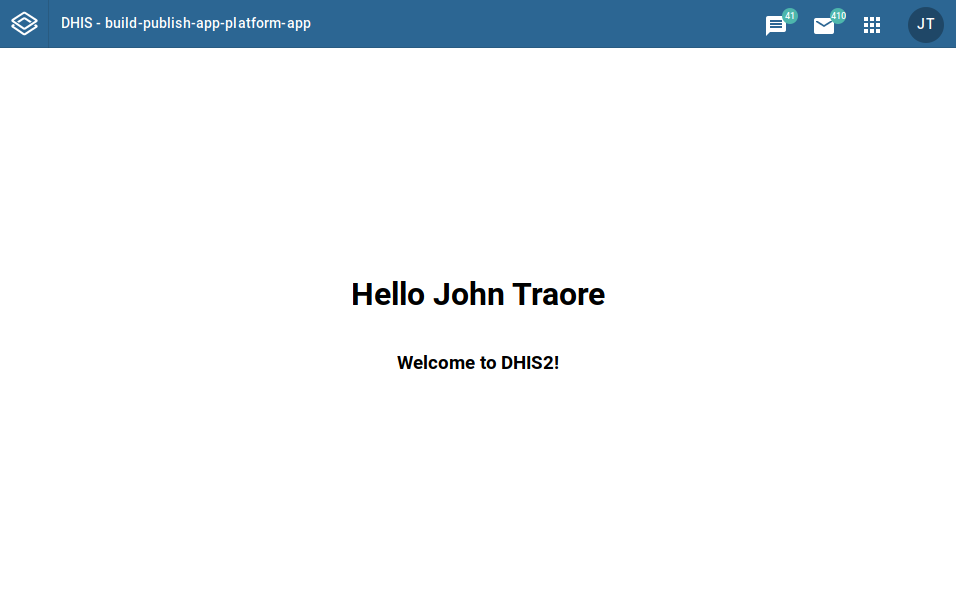
Entering our login credentials and signing in gives us the following screen.